Vagrantで仮想環境を構築する方法を簡単にご紹介します。
環境:Mac OS X
Vagrantをダウンロードします
以下のサイトよりVagrantをダウンロードします。
https://www.vagrantup.com/downloads.html
Vagrantをインストールします
1. ダウンロードした「vagrant_1.8.5.dmg」をダブルクリックします。
以下のようなインストーラーが起動するので、「vagrant.pkg」をダブルクリックします。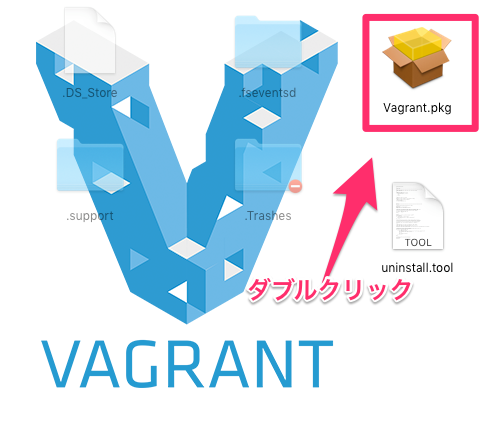
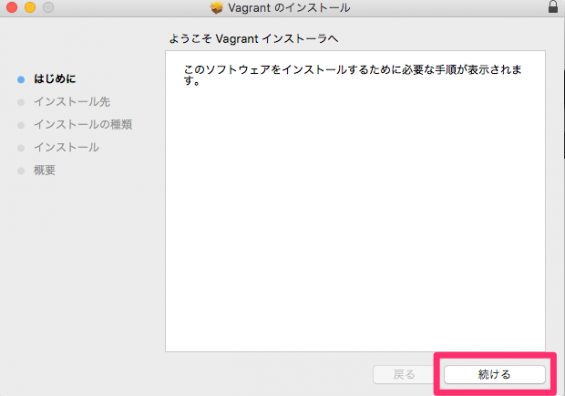
2. 「続ける」をクリックします。
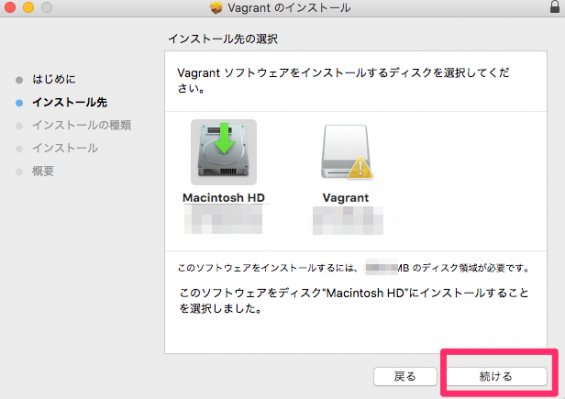
3. インストールするディスクを指定して、「続ける」をクリックします。
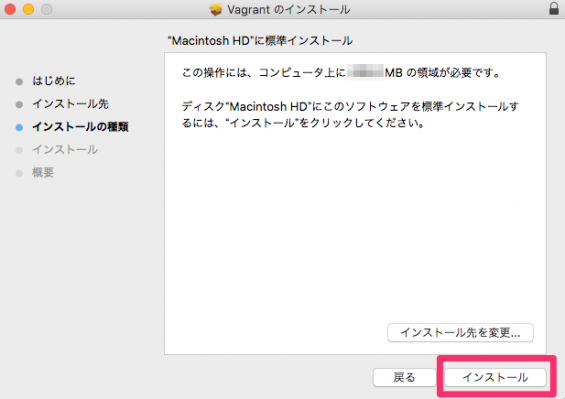
4. インストール場所を指定する場合は変更して、「インストール」をクリックします。
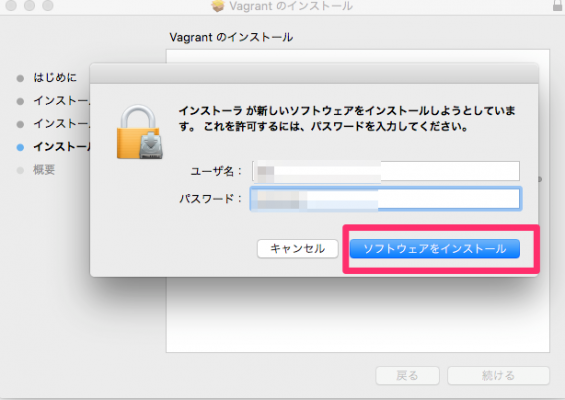
5. ユーザー名とパスワードを聞かれるので入力して、「ソフトウェアのインストール」をクリックします。
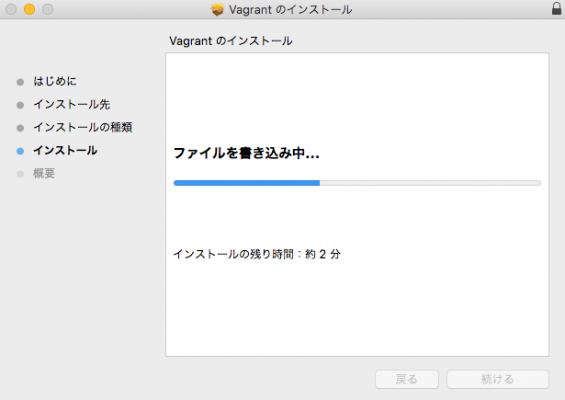
6. インストールが始まるのでしばらく待ちます。
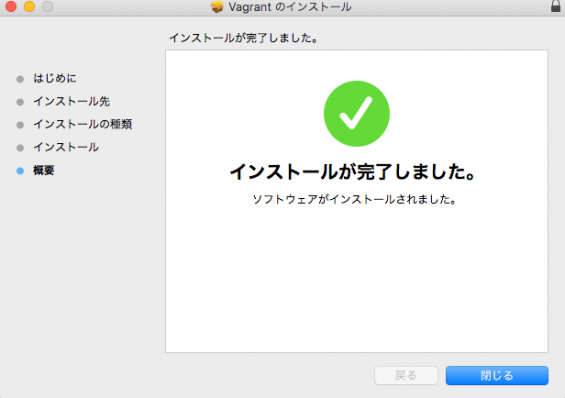
7. 以下のような画面が表示されたらインストール完了です。
VirtualBoxをインストールします
以下のサイトよりVirtualBoxをダウンロードします。
https://www.virtualbox.org/wiki/Downloads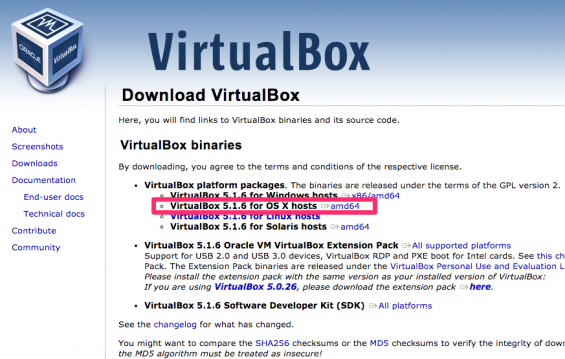
1. ダウンロードした「VirtualBox-5.1.6-110634-OSX.dmg」をダブルクリックします。
以下のようなインストーラーが起動するので、「virtualbox.pkg」をダブルクリックします。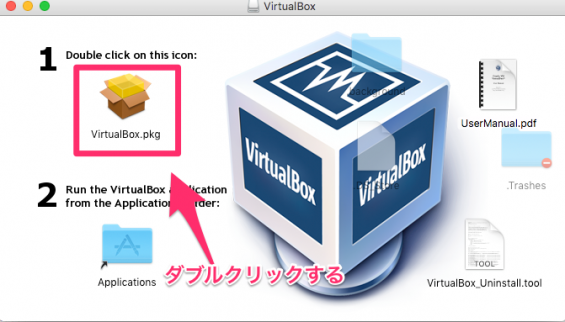
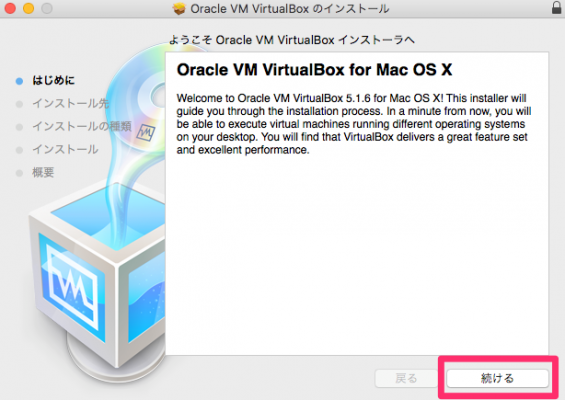
2. 「続ける」をクリックします。
3. インストールするディスクを指定して、「続ける」をクリックします。
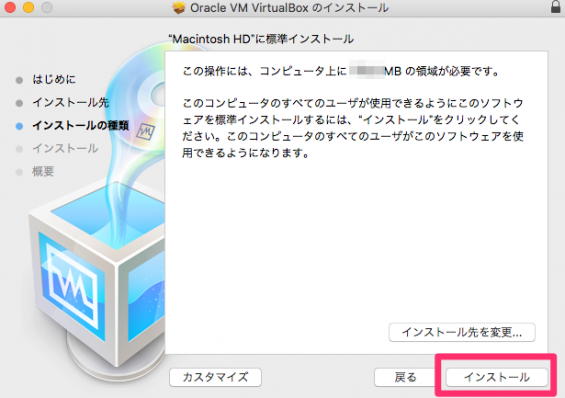
4. インストール場所を指定する場合は変更して、「インストール」をクリックします。
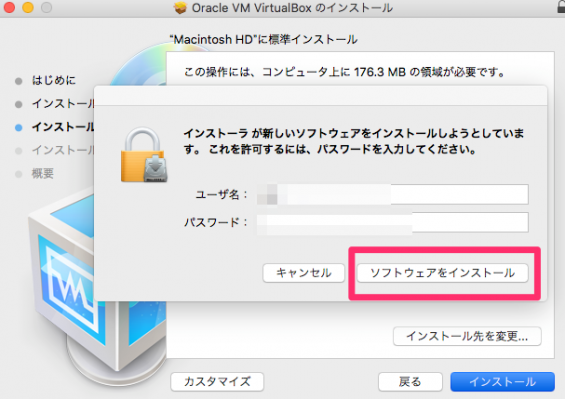
5. ユーザー名とパスワードを聞かれるので入力して、「ソフトウェアのインストール」をクリックします。
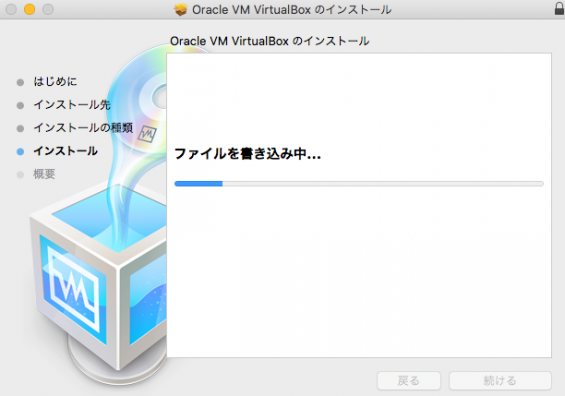
6. インストールが始まるのでしばらく待ちます。
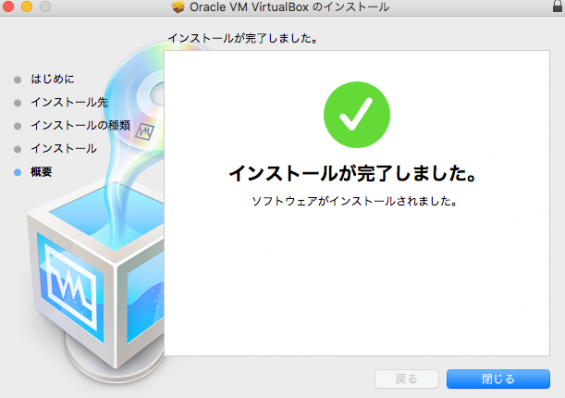
7. 以下のような画面が表示されたらインストール完了です。
Vagrantを使ってみる
1. ターミナルを起動します
2. VagrantのBoxを作成します
Ubuntu16.04LTS 64bitのBoxを作成してみます。
以下のコマンドを入力します。
| 1 2 3 4 | $ vagrant box add ubuntu/xenial64 ==> box: Loading metadata for box 'ubuntu/xenial64' ... ==> box: Successfully added box 'ubuntu/xenial64' (v20160914.0.0) for 'virtualbox'! |
Boxをサーバーからダウンロードするのでしばらく時間がかかります。
3. Vagrant初期化コマンドを入力します。
任意のディレクトリ配下で、Vagrant初期化コマンドを入力します。
| 1 2 3 4 5 | $ vagrant init ubuntu/xenial64 A `Vagrantfile` has been placed in this directory. You are now ready to `vagrant up` your first virtual environment! Please read the comments in the Vagrantfile as well as documentation on `vagrantup.com` for more information on using Vagrant. |
4. 仮想マシンを起動します。
以下コマンドで仮想マシンを起動します。
| 1 2 3 4 | $ vagrant up Bringing machine 'default' up with 'virtualbox' provider... ==> default: Importing base box 'ubuntu/xenial64'... ... |
5. 仮想マシンにSSHログインします。
| 1 2 3 4 5 6 | $ vagrant ssh Welcome to Ubuntu 16.04.1 LTS (GNU/Linux 4.4.0-36-generic x86_64) ... ubuntu@ubuntu-xenial:~$ |
6. ログアウトして、仮想マシンを停止します。
| 1 2 3 | $ logout $ vagrant halt ==> default: Attempting graceful shutdown of VM... |
Vagrantで仮想環境を構築する方法を簡単にご紹介しました。Vagrantfileという設定ファイルを使って、色々仮想マシンをカスタマイズできるので、それに関してのちのち記事を書きます。